

Our Principles







Our Range of Products
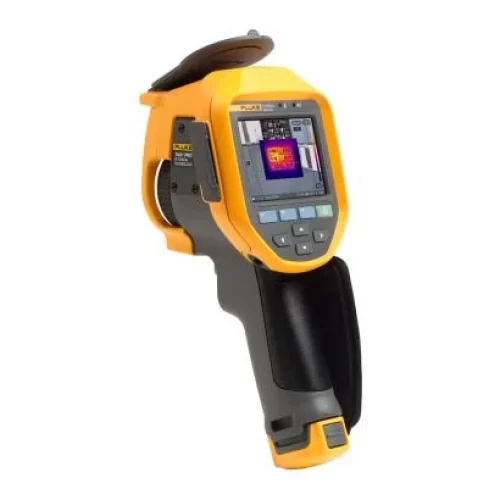
Thermal Imager
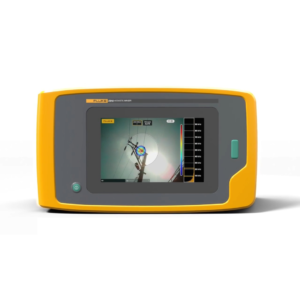
Temperature can be a sign of trouble ahead. With Fluke thermal cameras you can detect issues before they become problems.
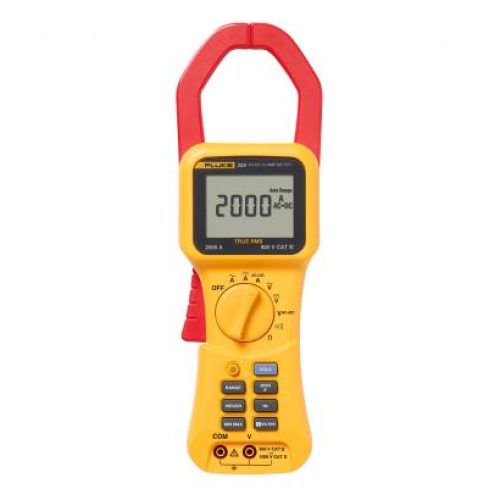
Clamp Meter
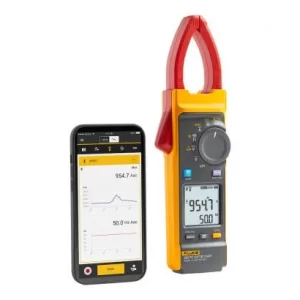
The Fluke digital clamp meter is a workhorse tool for everyday use. These amp clamp meters are designed for noise-free, reliable readings.
Featured Products
Applications

Tyre Manufacturing
Nitrogen, steam, and compressed air are widely used in the Tyre manufacturing process. In the curing phase, steam is used to implement 8 bar pressure to liquify rubber compounds…

Overheated Transformer
Transformer insulation is generally rated for 220°C but may be lower for some designs including control or encapsulated. Standards permit the temperature of the transformer…

Automotive Testing
Electronics have replaced mechanical systems as major contributors to automotive control and performance — and a major cause of repair issues. Popular hybrid vehicles…
Industries We Serve

Pharma
Pharmaceutical manufacturing requires premium quality tools that provide accurate measurements and keep critical processes up and running.

Automotive
High power equipments in automotive industry are always dangerous to work with. That’s why it’s important to know what safety equipment…

Data Center
The data center is the heart of every enterprise network, enabling the transmission. Test tools help you manage the data safely and avoid…
Knowledge Panel
Frequently Asked Questions
Measuring instruments are the ‘heartbeat’ of your company as they check and measure your production processes. They control the quality of your products and in the end are responsible for the success and the profitability of your business.
A regular check of your ‘heartbeat’ with traceable calibration equipment ensures your quality always matches the customer’s expectations, which is vital where ISO 9000 certification is involved. Regular calibration lets you:
- Assure consistent quality of your production output
- Lower operating cost due to enhanced reliability
- Gain optimal access to international markets
- Establish a quality system
- Address quality audit and reviews
- Maintain quality of specifications
- Meet production control criteria
- Measure inspection and testing results
- Establish calibration traceability
ISO 9000: Traceable Calibration
‘Calibration’ means that the test results from a measuring device (or source) of unknown accuracy, are compared with a device whose accuracy is known. This device is universally accepted as a ‘reference’. Calibrations are traceable to the International System of Units (SI) through National Metrological Institutes, ratiometric techniques and natural physical constants.
Calibration records any deviation from this standard and corrects it when necessary. Each instrument has a specific calibration procedure which indicates exactly how and what must be checked. Regular and traceable calibration combines the forces of accuracy and certainty and provides you with the key aspect of ISO 9000 registration.
The total possible in each (Min/Max or Peak) is 400, for a total of 800 readings.
You may save up to 400 total recordings in memory. With intervals set to 15 minutes, you could get several one week recordings before it is necessary to upload results to a computer, even if you had used all of 400 of the saved reading memory locations.
You may save up to 400 total saved single readings in the Save Memory.
The camera features a 3.5” LCD touchscreen with IR-Fusion™ technology, which blends visible light with infrared images for easier problem identification. Users can adjust the level of infrared easily by sliding a finger across the screen.
The Min/Max mode is as its name implies, it is the highest and lowest reading that the multimeter measured from the time the Min/Max record mode was started. Typically, they need the measured signal’s maximum or minimum to be 200 to 350 milliseconds long or longer to get an accurate reading. They work from any mode such as volts DC, True RMS volts AC, resistance, and current functions. Peak mode measures the positive and negative peak voltage of a signal. For the 120 volt ac line, the peaks will read +169 volts and -169 volts (120 V x 1.414 = 169 V for a clean sine wave). Typically they will work for peaks that are 250 microseconds or longer.
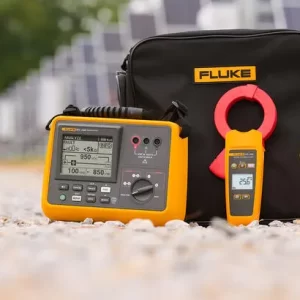
An earth tester is used to measure how well the ground connection is working — in other words, it measures the resistance between the grounding electrode and the surrounding earth. This earth resistance test shows whether the earthing system provides a low-resistance path, ensuring electrical safety and protection.

