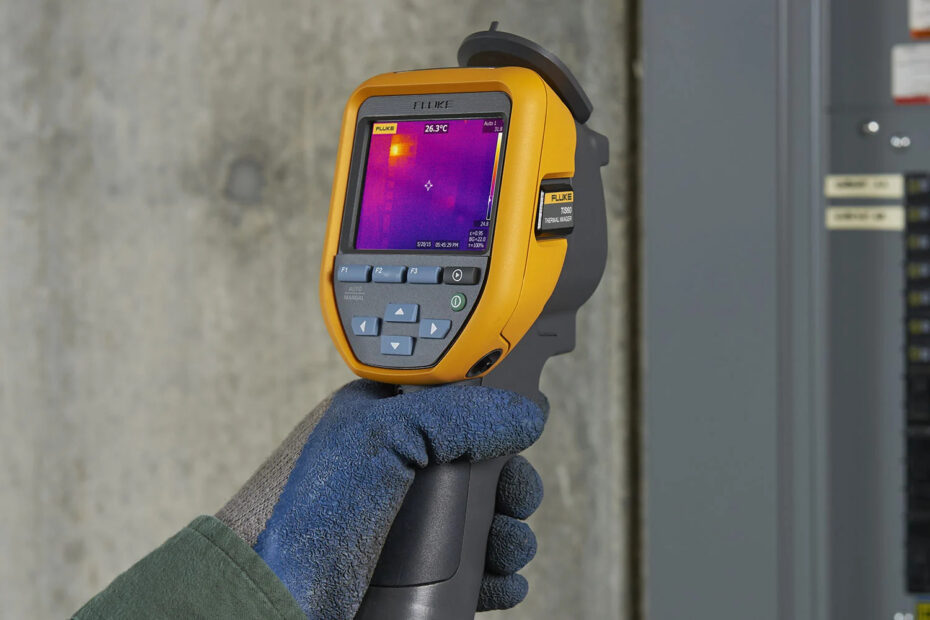
Whether you choose a simple point-and-shoot model or a high-end thermal imagers camera with all the bells and whistles, here are some key features and specs you should consider:
1. Resolution:-
⦁ Detector resolution indicates the number of detector pixels on the camera. More pixels, means higher resolution.
⦁ Spatial resolution is based on detector pixels and the field of view (FOV) spec, combining them to define the area the imager sees at any given moment. Spatial resolution can be used to help define the smallest object size that can be detected. A lower spatial resolution value means better detail and image quality.
2. Focus:-
⦁ With a variety of focus mechanisms to choose from, it is important to take into account your skill level as well as the application in selecting a focus type. Here are the common focus mechanisms:
a. Fixed: Point and shoot simplicity
b. Manual: Precise incremental focus
c. Auto focus: Automatically focuses on a target but may require manual adjustment.
d. Laser-assisted auto focus: Uses a built-in laser distance meter to calculate distance to the target.
e. Multifocal: Captures and stores multiple images of the target from varying focal distances and uses software to blend them into one image with ultra-sharp depth of field detail. Fluke Corp., for example, calls its implementation of this technology MultiSharp™ Focus.
3. Temperature Range:-
⦁ The highest and lowest temperature you encounter in your inspection determines the temperature range you need from your thermal imager. Or, select a camera with a wide temperature range that automatically selects the range based on your scene, or allows you to manually select the temperature range.
4. Lens Options:-
⦁ A camera that lets you change lenses increases your versatility, allowing you to inspect many more types of equipment and situations. There are lots of choices for lots of applications—standard, wide angle, telephoto, and macro.
5. Saving Images and Additional Data:-
⦁ Save infrared and digital images and in some cases voice notes to internal memory, a removable SD card, or to a USB flash drive. It’s important to have the flexibility to save images and additional related data to different media for backup or sharing.
6. Color Palettes:-
⦁ Slight differences are easier to see with a monochromatic palette, such as grayscale or amber. High contrast palettes can make it easier to quickly find obvious anomalies. You should be able to change the palette in the camera or in the software.
7. Color Alarms:
⦁ Use these to quickly highlight areas outside your normal temperature ranges.
8. Emissivity and Reflected Temperatures:-
⦁ Low emissivity surfaces, such as shiny metals, can reflect infrared energy from other objects and throw off your image and your measurement accuracy. So, look for the option to adjust parameters when choosing an imager.
9. Spot Markers:-
⦁ Mark specific temperatures on your image to compare simultaneous temperatures from multiple points on the same image.
10. Battery type and Life:-
⦁ Look for a battery with useful features such a charge level indicator. Nothing is worse than starting an inspection with no idea of the battery status. Also consider long battery life and quick charging ability.
